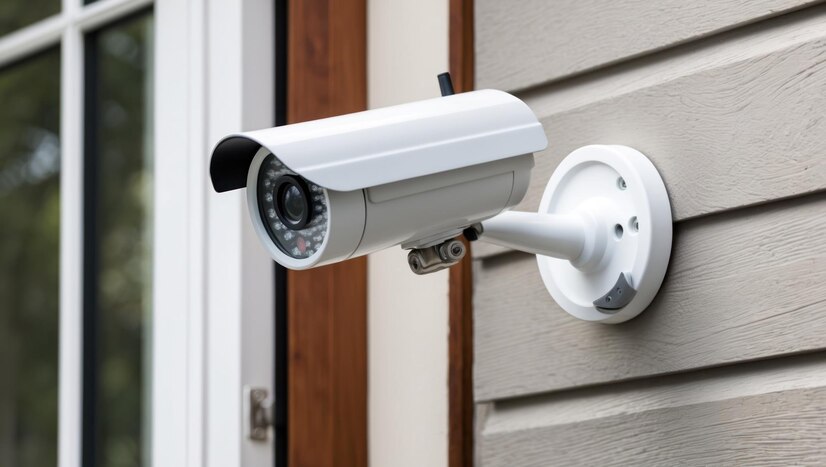
So, you’ve decided to turn your home or business into Fort Knox with some outdoor security cameras. I must tell you, it’s a smart move! But before you start sticking cameras willy-nilly like a kid with a new sticker book, let’s talk strategy.
To make sure those cameras catch every sneaky squirrel and potential intruder, you need an outdoor security camera placement diagram. Think of it as your master plan for ultimate surveillance domination.
This guide by Backstreet Surveillance will walk you through the steps to design a placement diagram that ensures optimal coverage and security, with a sprinkle of fun along the way.
Why an Outdoor Security Camera Placement Diagram is Important
An outdoor security camera placement diagram helps you strategically position your cameras to cover all vulnerable areas, minimize blind spots, and ensure comprehensive surveillance. With the proper placement, you can deter potential intruders, and get valuable evidence in case of incidents.
Step-by-Step Guide to Creating an Outdoor Security Camera Placement Diagram
1. Assess Your Property
The very first step starts with evaluating your property to identify key areas that need surveillance. You can consider the following:
- Entry Points: Front and back doors, windows, and garage doors.
- Perimeter: Fences, gates, and the overall boundary of your property.
- High-Value Areas: Driveways, parking lots, and areas with valuable equipment or vehicles.
2. Determine Camera Types and Features
Choose the right type of outdoor security camera system based on your needs:
- Bullet Cameras: Ideal for long-distance viewing.
- Dome Security Cameras: Suitable for wide-angle coverage.
- PTZ Cameras: Provide pan, tilt, and zoom capabilities for flexible monitoring.
- Outdoor Night Vision Camera: Essential for low-light conditions.
3. Plan Camera Placement
Using a map or blueprint of your property, mark the locations where you plan to install the cameras. Also, make sure the following points:
- Coverage: Each camera should cover a specific area without significant overlap.
- Height: Mount cameras high enough to avoid tampering but low enough to capture clear images.
- Angles: Position cameras at angles that maximize their field of view and minimize blind spots.
4. Consider Lighting Conditions
Proper lighting should not be avoided for clear footage. Ensure that cameras are not facing direct sunlight, which can cause glare, and consider installing additional lighting if necessary.
5. Test and Adjust
Before finalizing your diagram, test the camera placements to ensure they provide the desired coverage. Make adjustments as needed to address any blind spots or areas with poor visibility.
6. Finalize Your Diagram
Once you are fully satisfied with the placements, create a detailed diagram that includes:
- Camera Locations: Mark the exact spots where each camera will be installed.
- Field of View: Indicate the coverage area for each camera.
- Wiring Paths: Plan the routes for cables and power sources.
Tips for Optimal Outdoor Security Camera Placement
- Overlap Coverage: Check that the field of view of adjacent cameras overlaps slightly to eliminate blind spots.
- Avoid Obstructions: Keep cameras clear of obstacles like trees, walls, and other structures that can block the view.
- Regular Maintenance: Periodically check and clean your cameras to maintain clear visibility and functionality.
Endnote
Creating an outdoor security camera placement diagram is an important step in ensuring the safety and security of your property. By strategically positioning your cameras, you can achieve optimal coverage, deter potential intruders, and have security knowing that your property is well-protected.
You can follow the steps outlined in this guide to design an effective placement diagram and enhance your security system. Most importantly, to buy the best surveillance cameras, don’t forget to explore Backstreet Surveillance.
FAQs
1. Why is an outdoor security camera placement diagram important?
Ans. An outdoor security camera placement diagram helps you strategically position your cameras to cover all vulnerable areas, minimize blind spots, and ensure comprehensive surveillance.
2. What are the key areas to cover in an outdoor security camera placement diagram?
Ans. Key areas to cover include entry points (front and back doors, windows, garage doors), the perimeter (fences, gates), and high-value areas (driveways, parking lots, areas with valuable equipment or vehicles).
3. How should I plan the placement of cameras in my outdoor security camera placement diagram?
Ans. Use a map or blueprint of your property to mark camera locations. Ensure each camera covers a specific area without significant overlap, mount cameras at appropriate heights, and position them at angles that maximize their field of view and minimize blind spots.
4. How can I test and adjust my outdoor security camera placement diagram?
Ans. Before finalizing your diagram, test the camera placements to ensure they provide the desired coverage. Make adjustments as needed to address any blind spots or areas with poor visibility.
5. How can I ensure optimal coverage with my outdoor security camera placement diagram?
Ans. Ensure the field of view of adjacent cameras overlaps slightly to eliminate blind spots, keep cameras clear of obstacles, and perform regular maintenance to maintain clear visibility and functionality.

